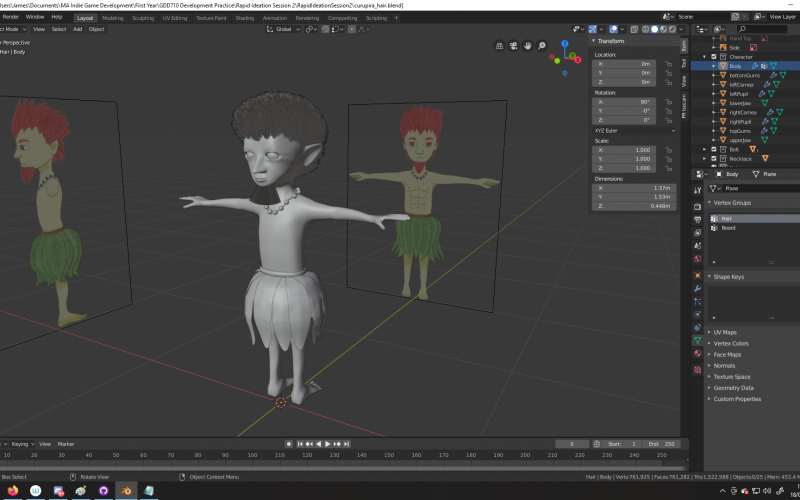
The next stage of this process was to create some hair for the Curupira. A distinct attribute of the Curupira is their fiery red hair and I needed to find a way of creating convincing hair (Blender, 2021).
In initially considered selecting all of the faces on the top of the Curupira’s head and extruding but this did not look good and looked really blocky.
Instead, I decided to use the Particles functionality to create some hair on the model. To learn how to do this, I used a YouTube tutorial from Blender Binge on creating hair quickly (Blender Binge, 2021). I did not want to spend too much time on this stage as I am aware I have less than a week left, but I did want it to at least look convincing.
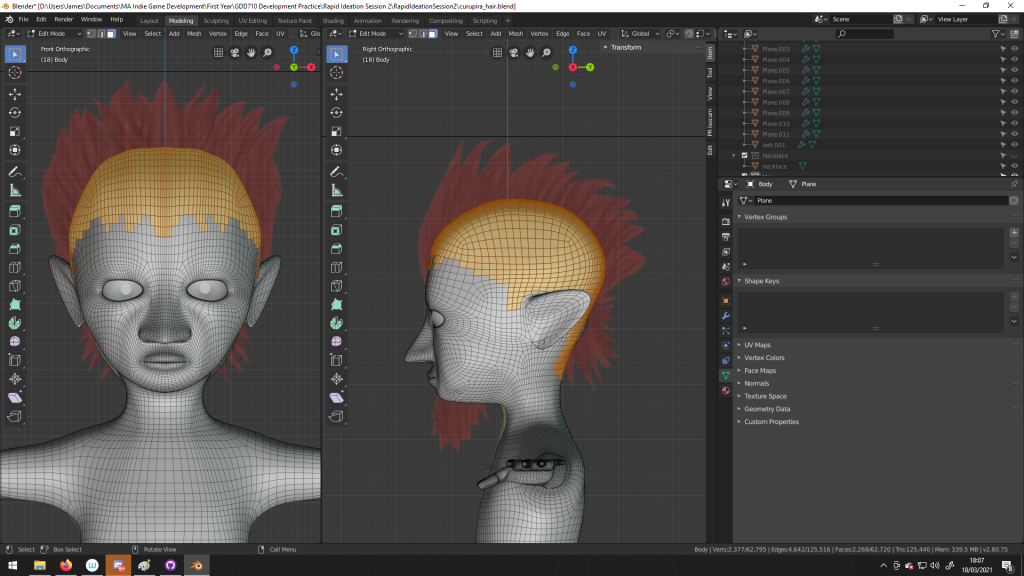
To create the hair, I selected all of the faces on the Curpira’s head and then I created a Vertex Group called ‘Hair’.
Once I did this, I went into the Particles tab and created a Particle System, which I switched from Emitter to Hair. This caused loads of massive strands of hair to emit from all over the model. To tweak this, I linked the Density of the Hair system to the Hair Vertex group, which meant that the hear only emitted from his head, as expected.
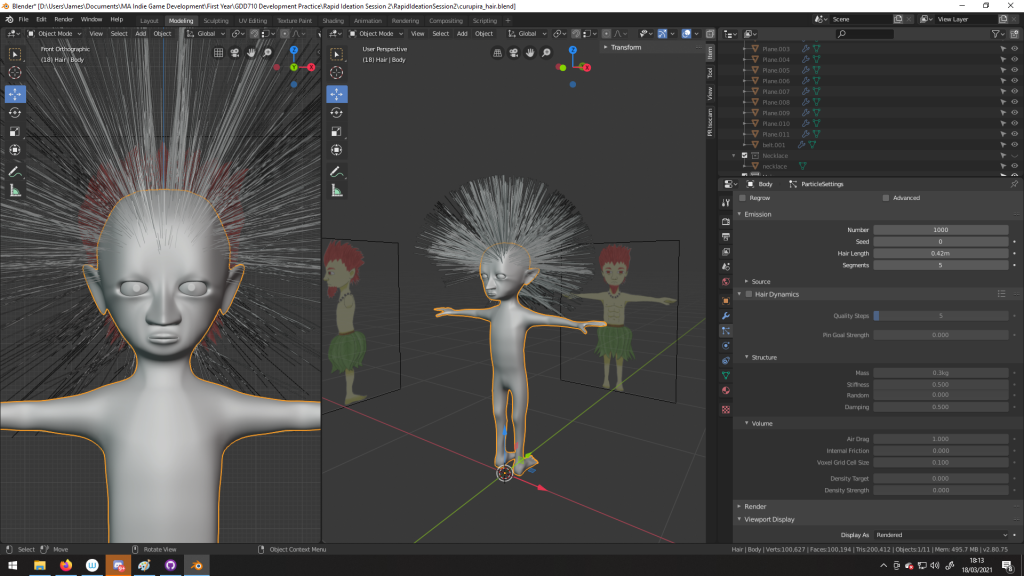
I then tweaked the emission settings to shorten the hair somewhat. I created a similar vertex group around his chin called ‘Beard’ and I then applied the same settings I mentioned above.
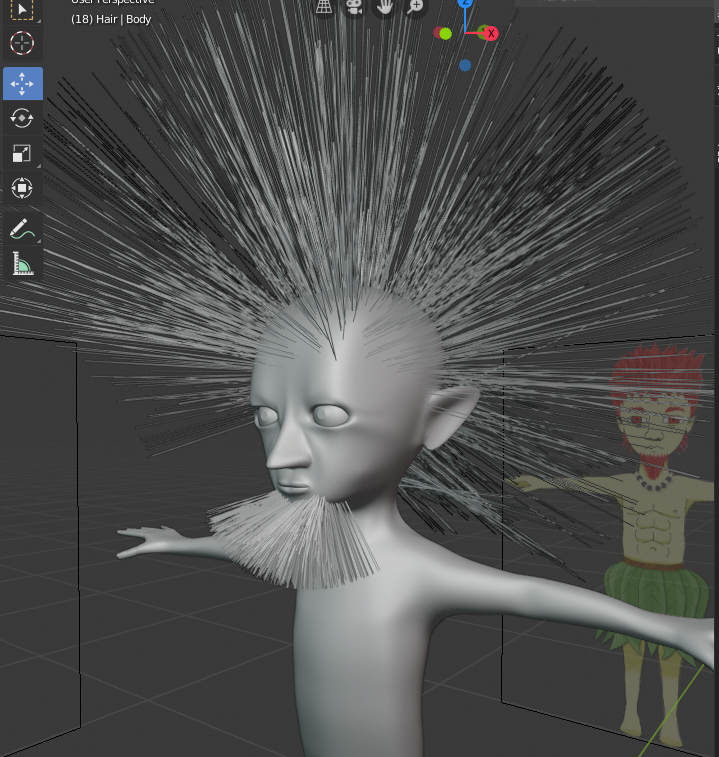
As you can see, the hair in the image above is very untidy, sparse and unconvincing. I now needed to tweak the settings to modify his hairstyle and make it resemble my original drawing more closely.
To do this, I went to the Children section of the particles tab and I set this to ‘Interpolitated’. I then tweaked several settings such as Kink and Amplitude to increase the amount of hair and also to create a hairstyle for the character. The end result is pictured below.
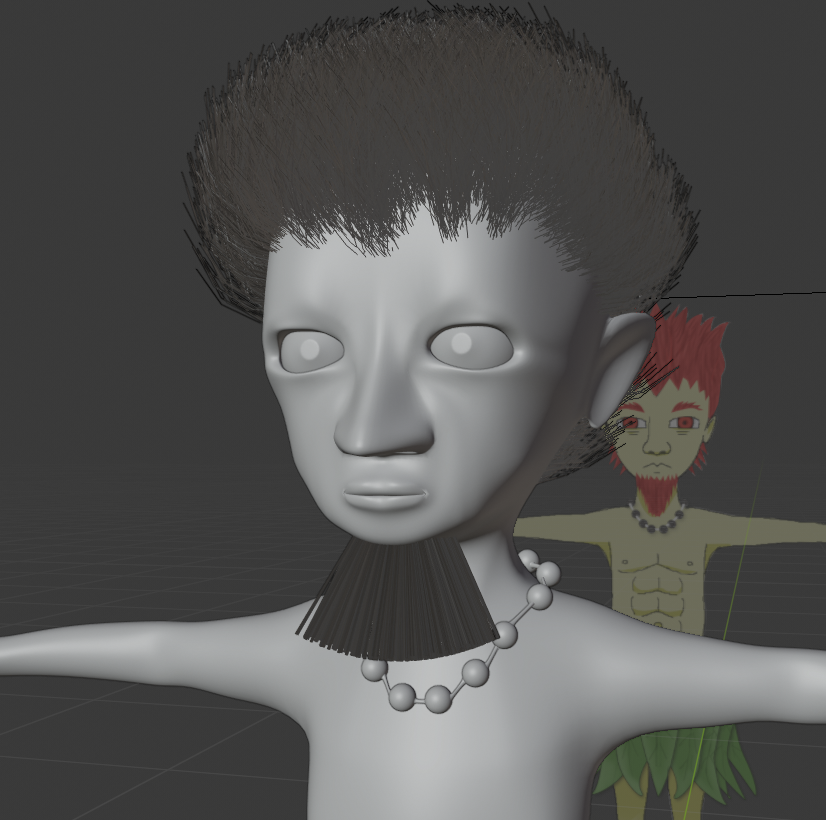
I am fairly satisfied with it, even if it doesn’t entirely resemble the original drawing but I am sure it will look better when I begin texturing.
After this, I attempted to teach myself to use the sculpting tool in order to build some muscle into the model (Victory3D, 2021). However, I have found that this tool is going to need quite a lot of time to get to grips with, so I will need to settle on a workaround such as drawing these features into the texture or extruding some faces.
Kanban board
I am aiming to start UV mapping tomorrow, so I have now moved this the ‘In Progress’ list.

Github repository
I have made another commit to the hair branch of my repository called hair, beard and mirror, which covers all of the changes I have mentioned (Github Desktop, 2021).
References
Blender Foundation. 2021. Blender (2021). [Software]
Blender Binge, 2021. Blender tutorial – How to Create Hair EASY. Available at: <https://www.youtube.com/watch?v=5aBZDdOmL1s> [Accessed 18 March 2021].
Github, Inc. 2021. Github Desktop (2021). [Software]
Victory3D, 2021. How to Sculpt Torso in Blender in 30 Min. Available at: <https://www.youtube.com/watch?v=Xypvsf94onc> [Accessed 18 March 2021].