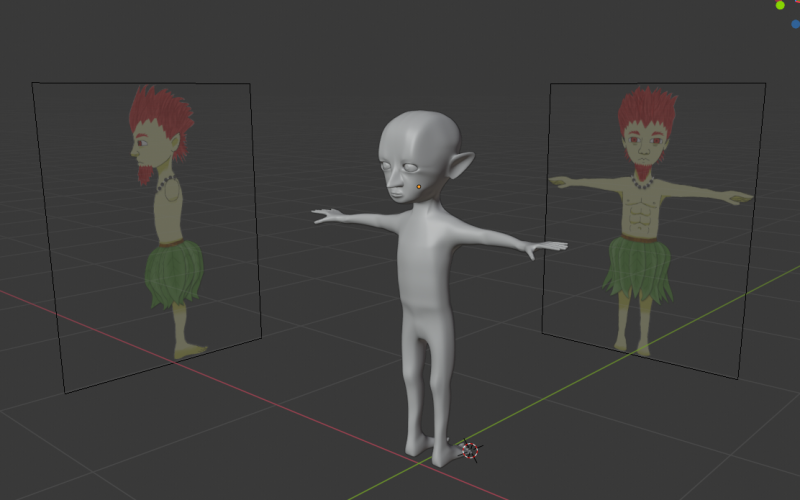
The next step that came up in Lile’s tutorial (Lile, D., 2020) was to model the feet. This particular part was going to be challenging as the Curupira has backwards feet. While I intended to follow Lile’s principles for building feet to the letter, I realise this was going to pose a challenge as the character sheets I had drawn depict the Curupira facing forward, meaning his feet are backwards and, of course, the feet of the model Lile is modelling has the feet facing forward.
I started by extruding an edge loop around his feet which I scaled in side and front view to fit around his foot (Blender, 2021). I then extruded an extra set of faces to create his ankle.
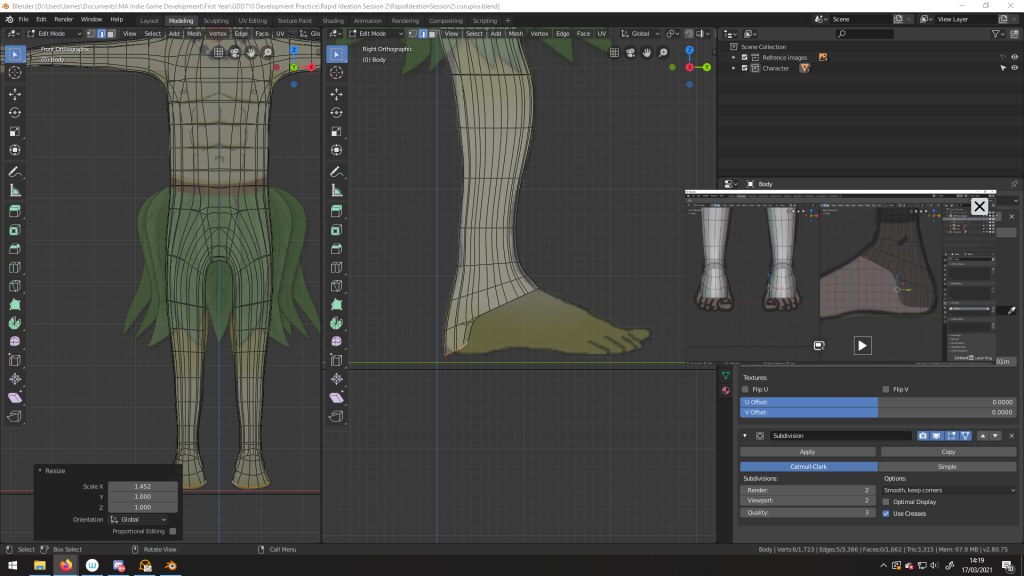
Next I extruded the entire edge and scaled along the x and y axes to create the foot.
To create the toes, I actually took the top part from his thumb, duplicated it and then separated it from the mesh. I used the top, side and back views to rotate the toe so that it was in alignment in all views and I moved it towards the foot.
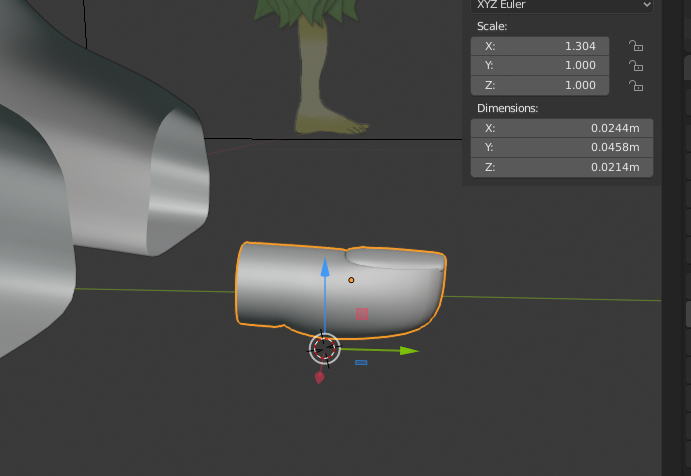
From there, I scaled a big toe and then I duplicated this toe and scaled it down four more times to create all other toes. I used the join tool to join all the toes together as one model and then I joined them together using edges and the fill tool. I then began to extrude from the toes to create the front part of the foot.
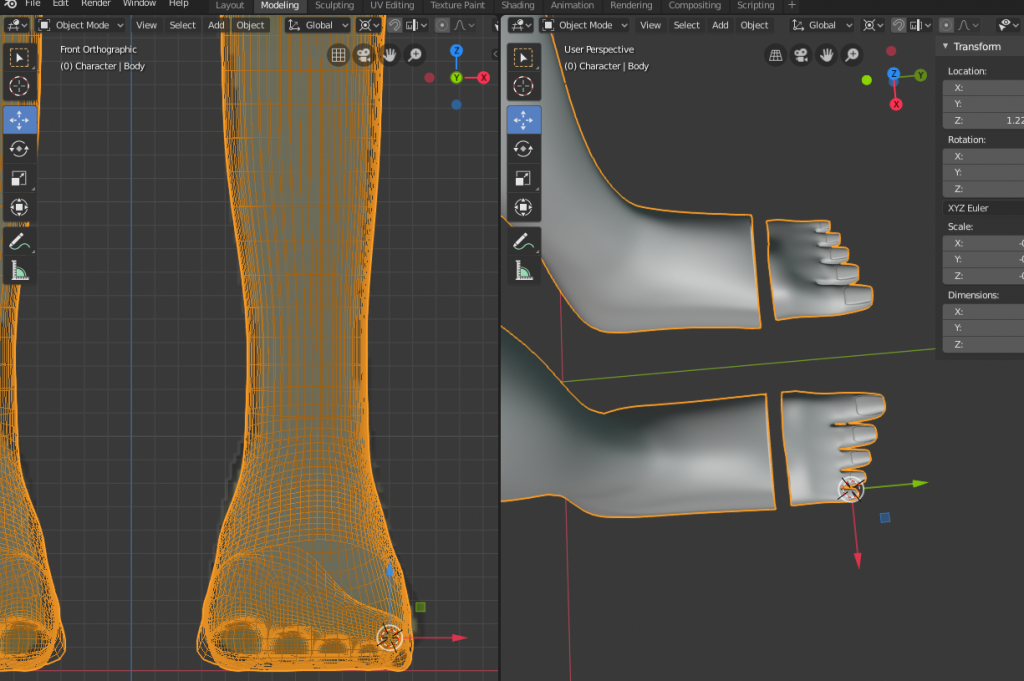
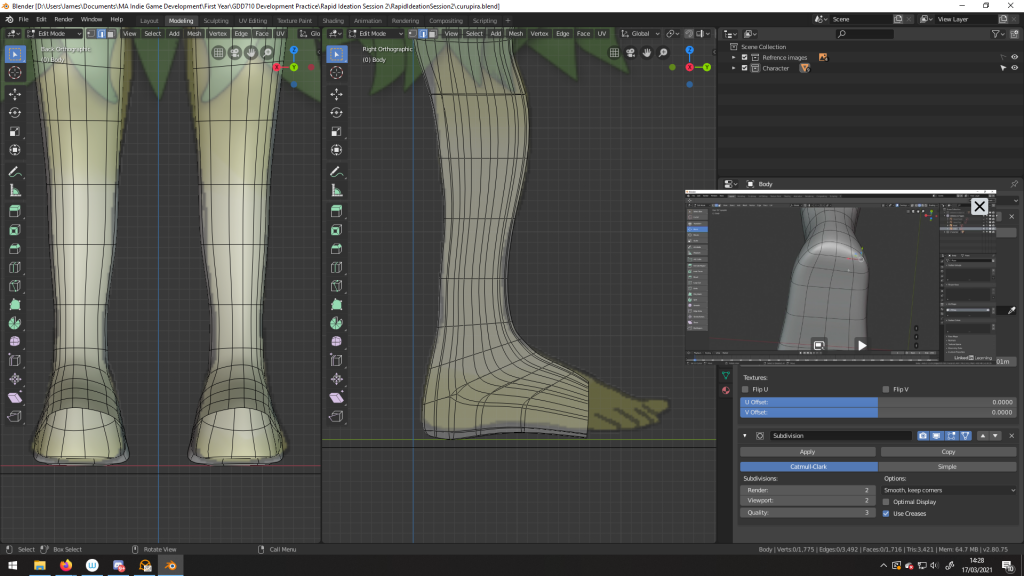
Once this part was done, I joined the mesh with the main character model. I had to delete and add edges accordingly to ensure that the toes could fully join the feet but I did not find this easy. Once I was satisfied, I joined the mesh together and I then went in and started tweaking the shape of the feet.
I am still not fully satisfied with the feet but I have decided to move on for now as I am aware I now only have one week left of this session and I need to ensure I get as much of it done as possible.
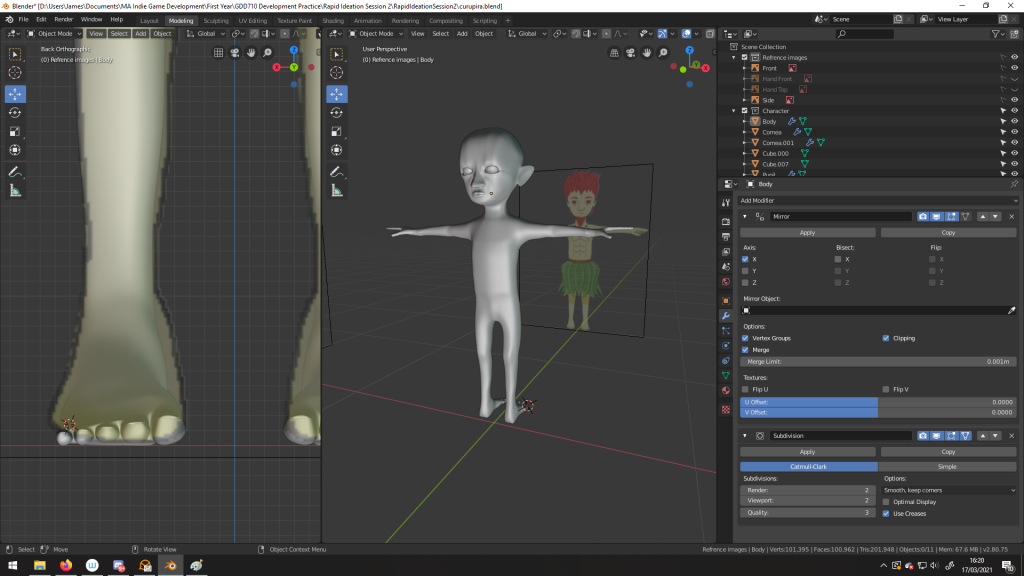
The Curupira now has hands and feet. Most of the basic parts of his anatomy are now in place and its now just a matter of refining this.
I think the next stages will be to create the leaves that go around his waist. This is where my model and Darrin Lile’s tutorial start to diverge paths as his tutorial is about modelling an astronaut character and I will probably need to improvise some of this stage and use what I have already learnt to complete this. I will, however, continue to use Darrin Lile’s tutorial for other stages of this project and I may even check some of the videos that seem less relevant to see if there is anything I can borrow for them.
References
Blender Foundation. 2021. Blender (2021). [Software]
Github, Inc. 2021. Github Desktop (2021). [Software]
Lile, D., 2020. Blender 2.8 Character Creation | LinkedIn Learning, formerly Lynda.com. [online] LinkedIn Learning. Available at: https://www.linkedin.com/learning/blender-2-8-character-creation/ [Accessed 17 March 2021].