I am now ready to start the next stage of this process which is UV mapping (Blender, 2021). For this, I shall be returning to Darrin Lile’s tutorial on Linkedin (Lile, D., 2020). UV mapping is the process where we create seams of the model which indicate where each part of the texture begins and ends. It is essentially a 2d map of the 3d model and it can be used to apply various textures to the model.
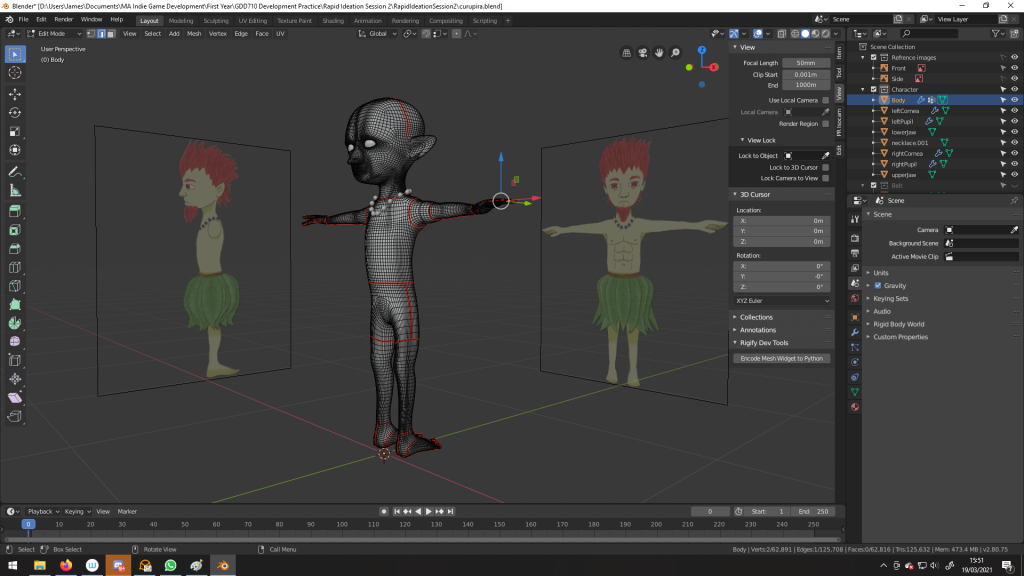
To start UV mapping, I need to go all over the model and select the edges of each part of the model and then mark seams to indicate what section of the model this is.
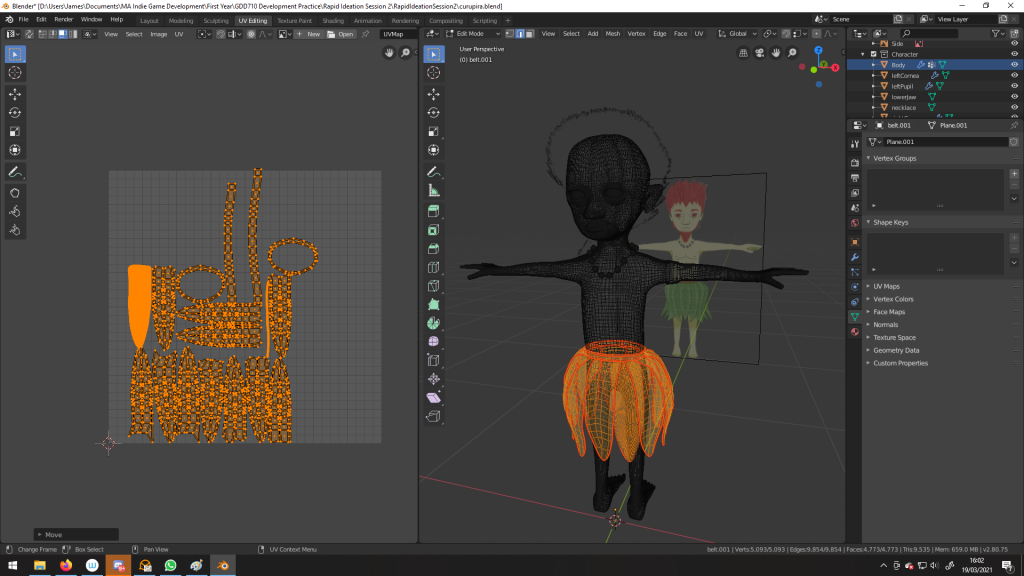
I began with his leaf belt. My first step was to merge all of the mesh into one model. I did this by selecting all of the parts of the model and using the join tool. Once I had done this, I began selecting the edges to create the seams. I created roughly 3 sets of seams for the belt itself and I made sure to mark the seams in a way that would allow each part to be flattened on a UV map. I then went around to each of the leaves and marked a seam around the outside of each of them.
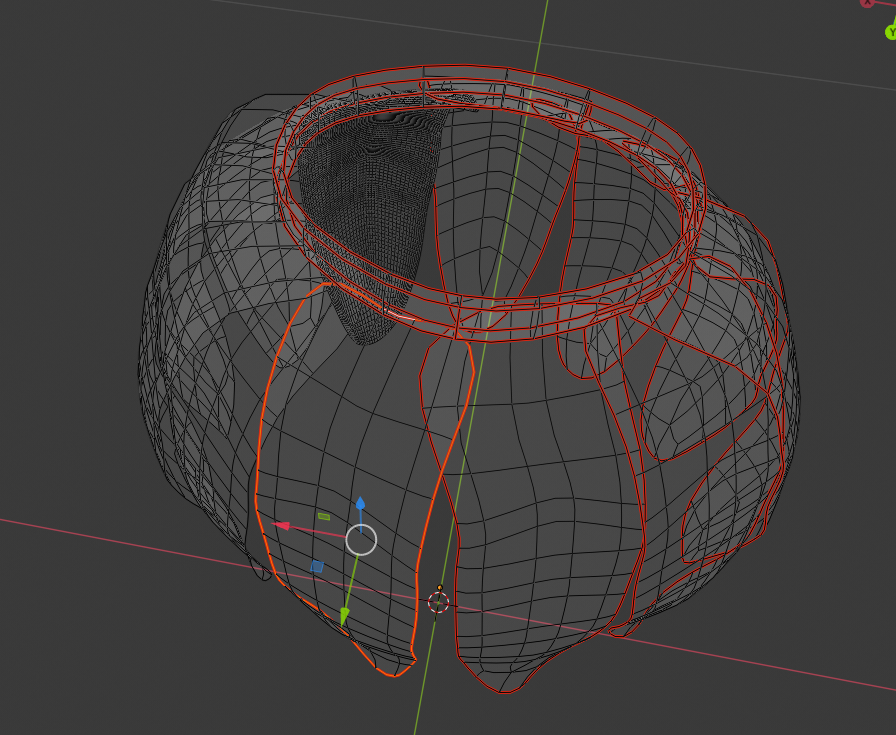
I can tell which parts of the model had been marked as seams for the UV map from the red outline around each part of the model.
Next, I moved onto the teeth and gums. I made each of the jaws into one model and then I selected the faces of the teeth to separate their seams from the gums.
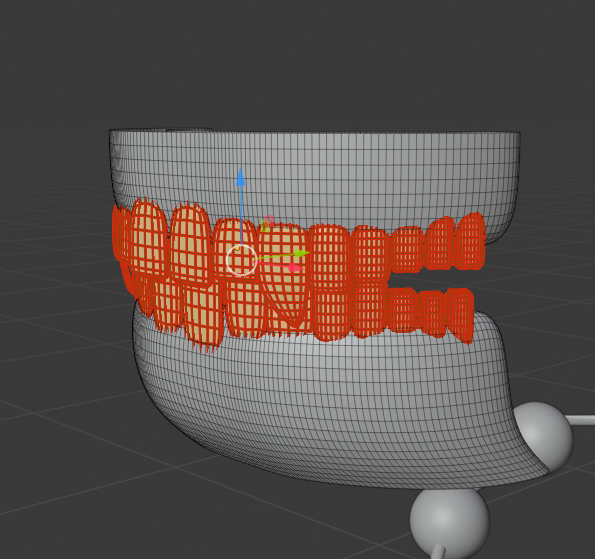
This was done by selecting all the visible faces of the teeth and marking them as seams.
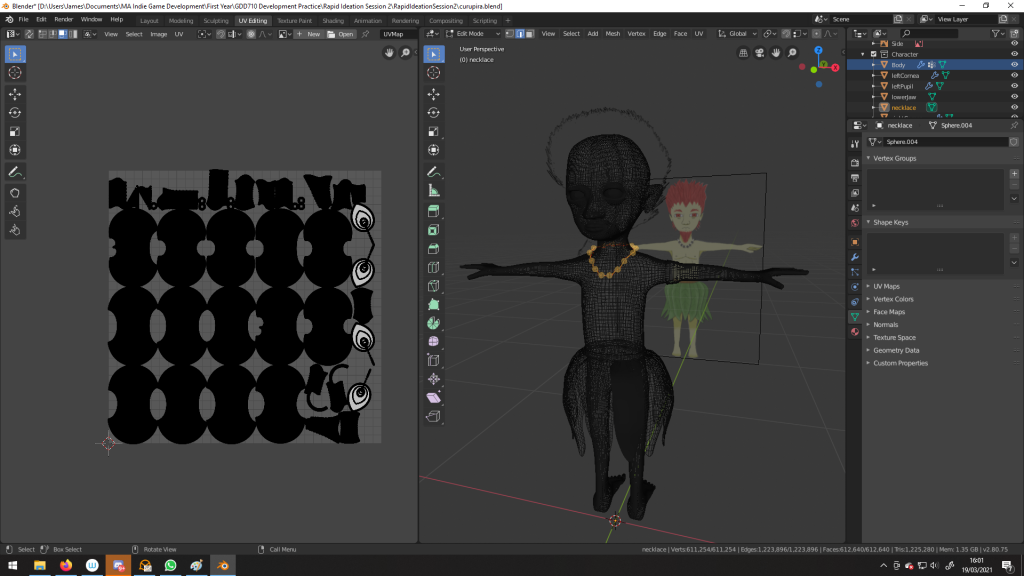
Next I did the necklace, which involved marking the seams of the string separately from the beads.
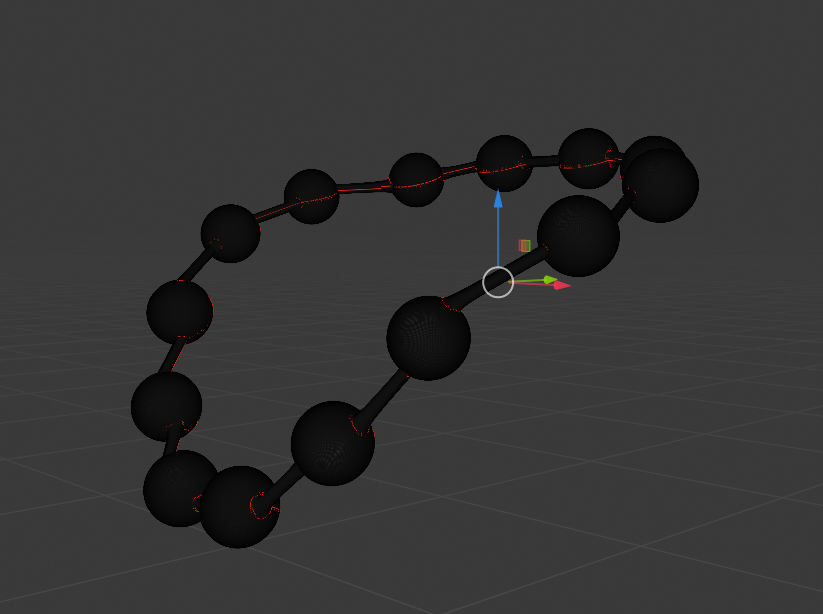
This was actually harder than it looks and makes me wish I did this before smoothening all of the subdivisions.
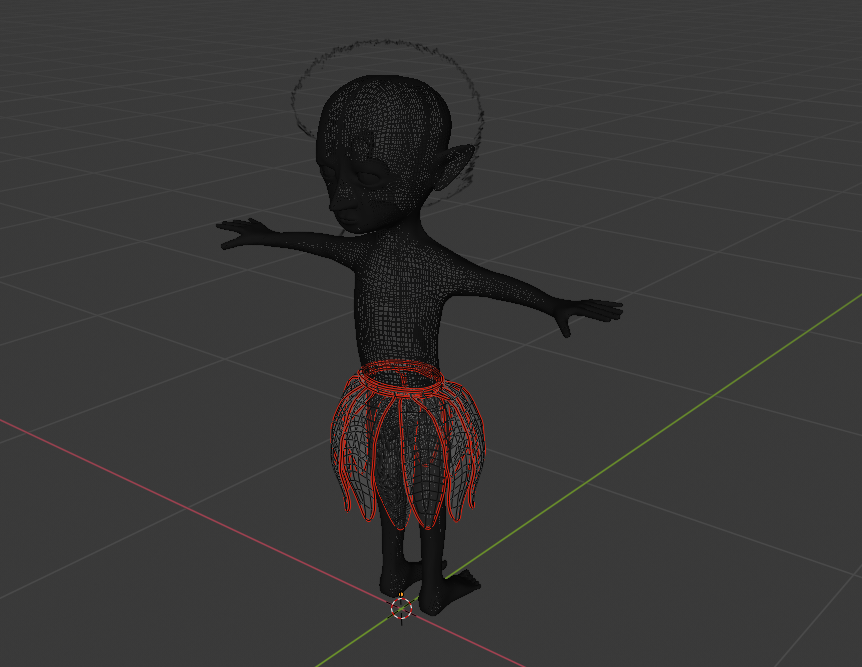
Next, was the body, which I did in a few separate pieces which included the head, mouth, neck, arms, torso, waist, legs and feet.
Here is how the model looks with all the seams marked. It is now ready to unwrap for a UV map.
I create UV maps, I now needed to use the unwrap tool to unwrap the seams of the character, necklace and leaf belt to create a recognisable shape that I could then texture. I did this is the UV Editing tab in blender. Here are the UV maps for each part of the character.
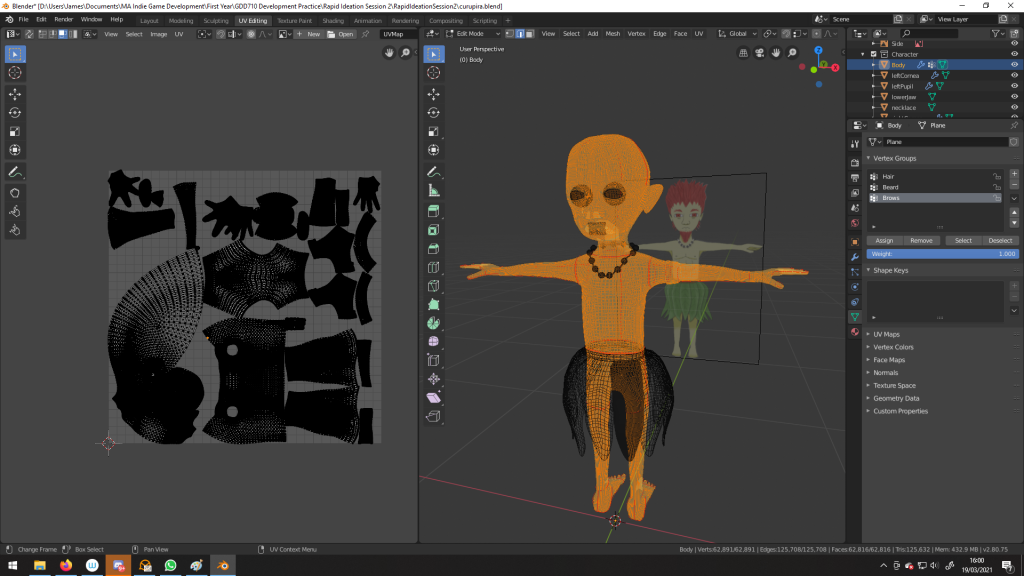
I am hoping these have all be unwrapped alright and that the textures will work well with this unwrapping.
The next stage is to start the texturing.
Kanban board
I have moved modelling from the In Progress list to the Done list as this part is now complete. As I will be starting texturing very soon, this task has moved into the In Progress list.
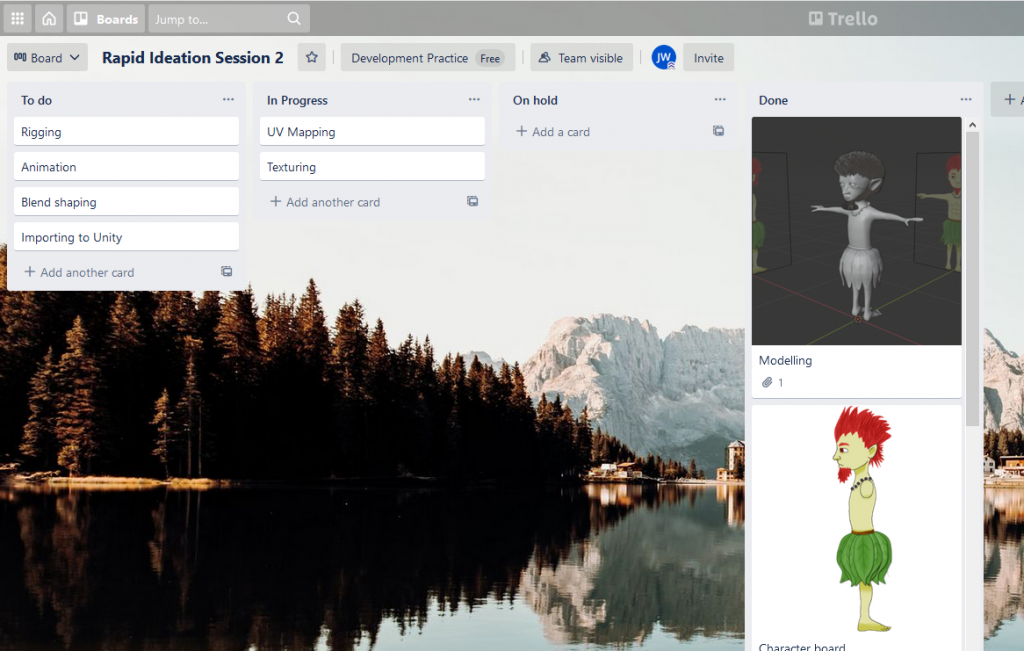
From now on, for any task that I now complete and move to the Done list, I will be adding an image or screenshot to that task to illustrate this. I have found that this is a great way to track my progress on this project as I am able to visualise how the project looked at each stage and it is also a very motivational tool.
References
Blender Foundation. 2021. Blender (2021). [Software]
Lile, D., 2020. Blender 2.8 Character Creation | LinkedIn Learning, formerly Lynda.com. [online] LinkedIn Learning. Available at: https://www.linkedin.com/learning/blender-2-8-character-creation/ [Accessed 19 March 2021].