
I am now halfway through this rapid ideation session…. and I am making some hands (Blender, 2021). Much like with illustration, hands are one of the hardest and more complex parts of the bodys to model. According to the tutorial (Lile, D., 2020), these needs to be modelled separately and against their own reference images if they are to be modelled realistically.
Although my character is more cartoony, I thought it would be worth the effort to try modelling them accurately so I followed this tutorial. I tried googling for my own hand reference images, but I could not find any that were very good so I just used the ones that Darrin Lile provides.

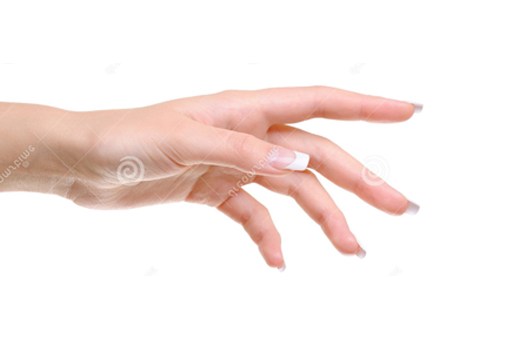
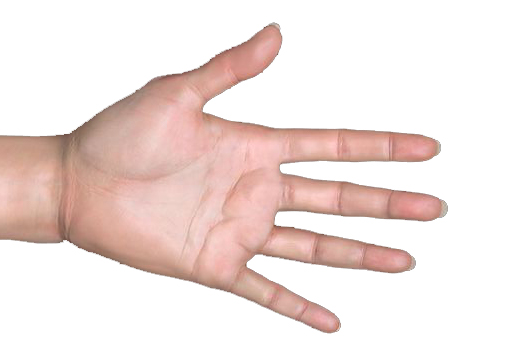
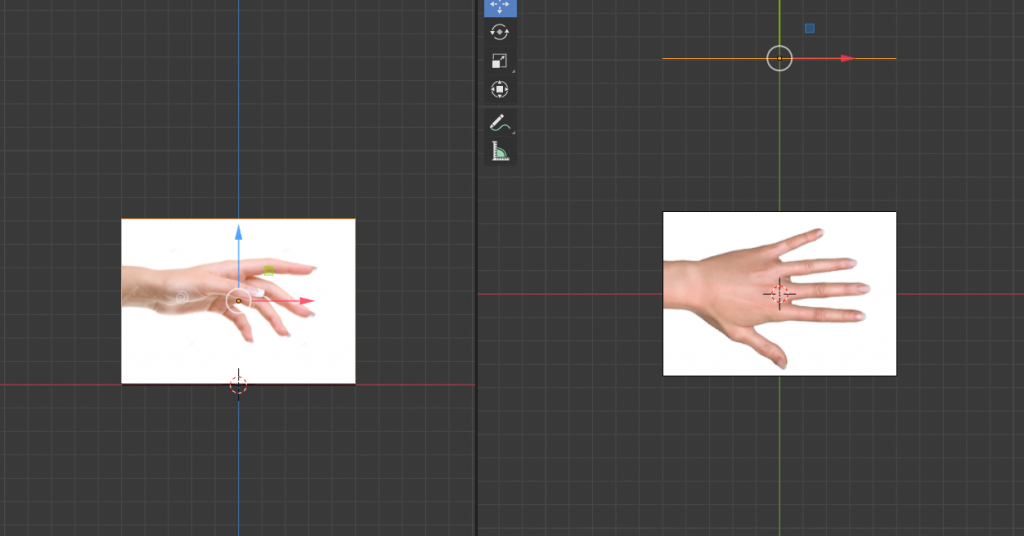
Once I had saved these, I added them as reference images using the same method that I added the character reference drawings for the Curupira. I now began to model hand in front and top view.
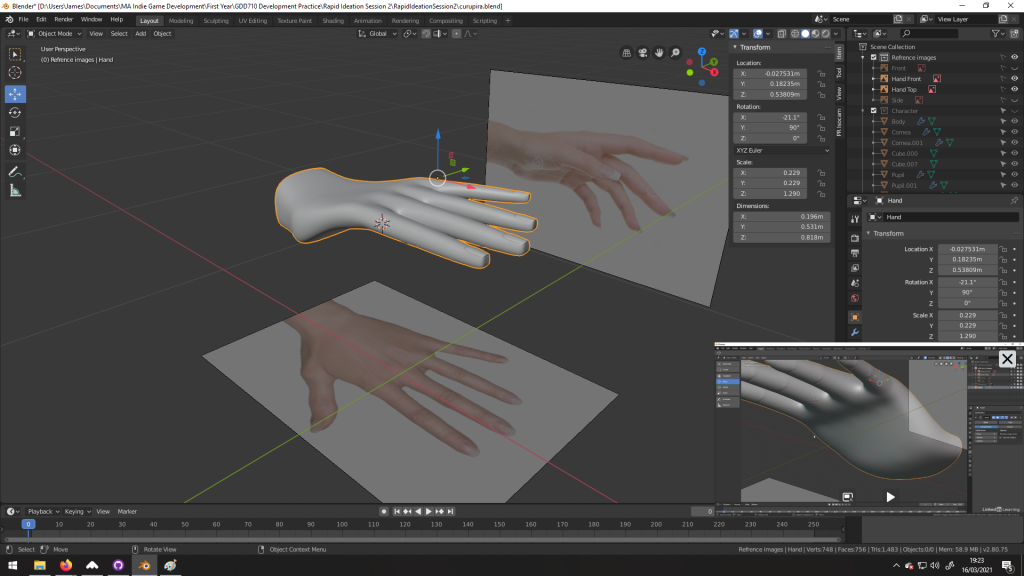
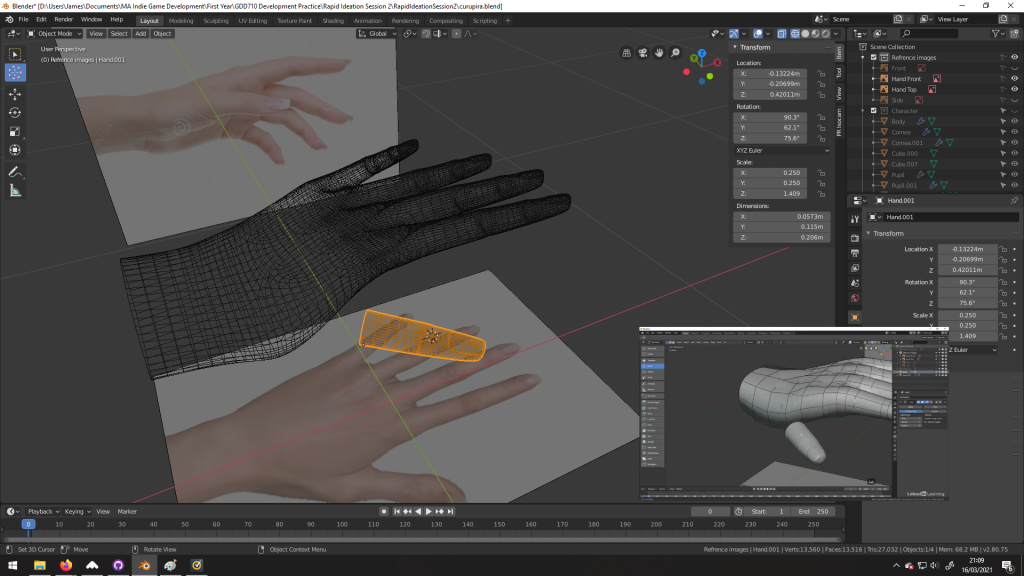
After the hand reference was in, I started creating the fingers. I began with the middle finger which I created using a polygon cylinder. I created edge loops where the knuckles and nail should be. To create the nail, I extruded a face which I brought down into the finger and another face on top of it which I brought out. Here is the result.

Next, I added detail the the bottom of the fingers and made the bend more pronounced and then I duplicated the finger and scaled it to create the other fingers of the hand.

Once this was done I then joined the fingers together by the edges and I used the newly created loop to extrude and create the basis of a hand. I extruded until the wrist.
To create the thumb, I seleted the mesh of the top half of one of the fingers in Edit Mode, duplicated it and separated it. I then positioned it where the thumb should be.
Once this was done, I created a hole in the hand by deleting faces and I then bridged the loops between the hand and the thumb. I then worked on joining some of the vertices together to both smoothen the hand but also to ensure there were fewer vertices going down the hand so that it could join up with the arm of the character model.

Next, I needed to join the hand to the Curupira model. I scaled the hand so that it fit the Curupira’s arm.

As I mentioned in previous posts, my Curupira model has more edges than the model in Lile’s tutorial, so I needed to go around both the arm and the hand to remove and add edges so that the write and the hand had the same number of edges/verices.
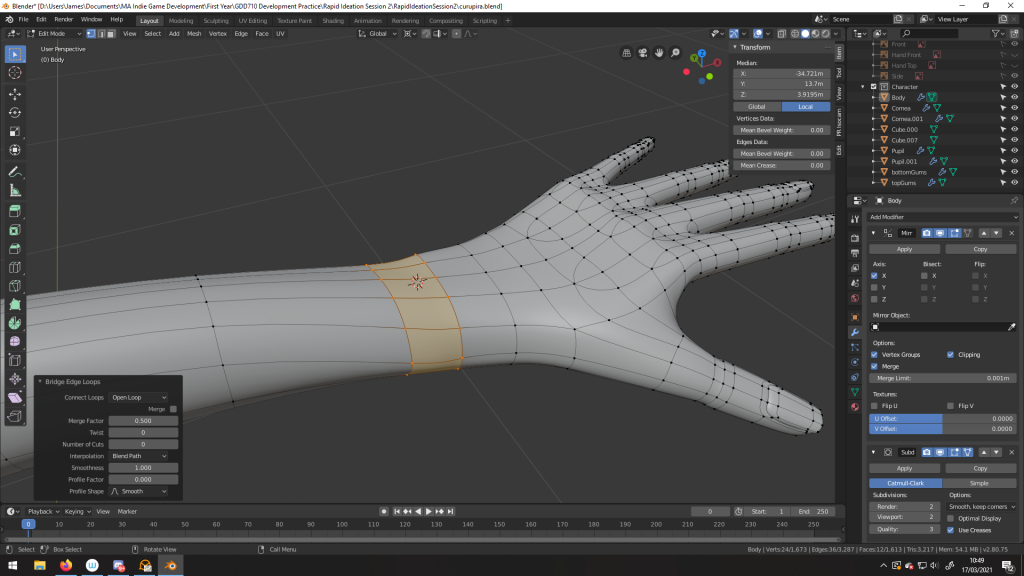
Once this was done, I joined the hand and character models together to make one model and I bridged the vertices between the two.
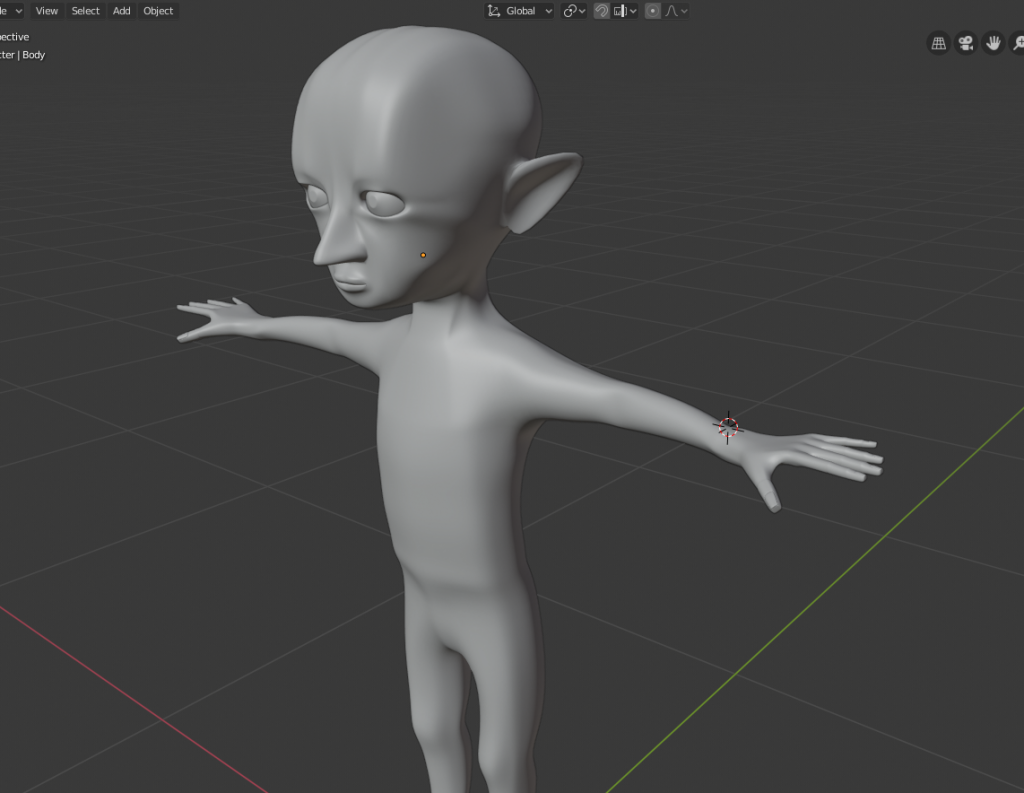
Curupira now has hands. Next… the feet.
Github repository
I have committed all of the changes documented above to the bodymodelling branch of my repository under a commit called hands attached (Github Desktop, 2021).
References
Blender Foundation. 2021. Blender (2021). [Software]
Github, Inc. 2021. Github Desktop (2021). [Software]
Lile, D., 2020. Blender 2.8 Character Creation | LinkedIn Learning, formerly Lynda.com. [online] LinkedIn Learning. Available at: https://www.linkedin.com/learning/blender-2-8-character-creation/ [Accessed 17 March 2021].